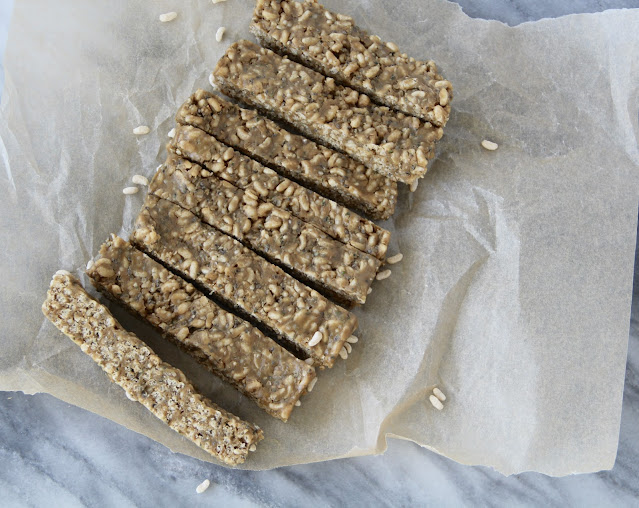
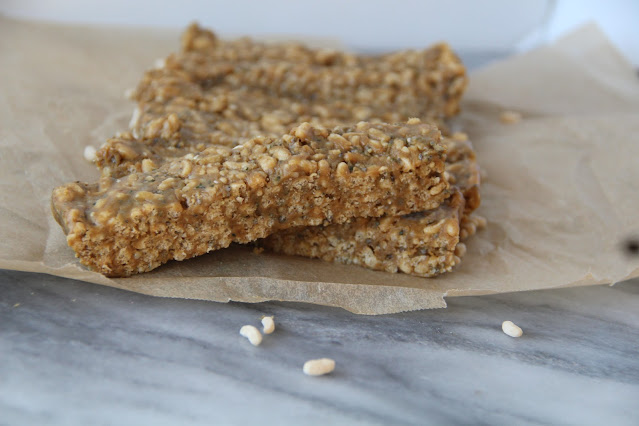
Crispy Rice Sun Butter Bars
I have a sweet tooth so I like to have something on hand I can grab when that sweet tooth hits. I came up with these bars after having a hard time finding a bar at the store that met all the criteria I wanted. No peanut butter, made with gf ingredients, and sweet but not too sweet. These bars are sweetened just enough to feel like a treat. They also include a great crunch from the crispy rice and the addition of chia and hemp seeds gives them a nutrient dense boost. They can be kept at room temperature but I prefer the extra crunch you get from keeping them in the refrigerator or even the freezer. I love a recipe that its easy enough to make in just a few minutes and can also be flexible based on what you have on hand.
Crispy Rice Sun Butter Bars
Ingredients
2 cups gf puffed rice cereal ( Nature's Path and One Degree Organics brands have them)
2 TBSP hemp seeds
1 TBSP chia seeds
1/2 cup sun butter
1/4 cup maple syrup
1 TBSP coconut oil
1/4 tsp sea salt
Directions
1. Line a 9 inch loaf pan with parchment paper and set aside.
2. In a large microwave safe bowl add the sunbutter, maple syrup, and coconut oil. Microwave for 30 seconds, remove and stir, and microwave for 30 more seconds.
3. Stir the mixture and then add the rice cereal, hemp seeds, chia seeds, and sea salt.
4. Press the mixture into the parchment lined loaf pan using a spatula to press the mixture firmly down. This will help to shape the bars and allow them to set.
5. Refrigerate for at least 30 minutes before cutting into bars.
Enjoy!
* You can just any nut or seed butter in place of the sunbutter. You also may add other nuts or seeds, or even coconut just make sure your total of dry ingredients is very close to two cups or the bars will be dry. The hemp and chia seeds aren't in a large enough amount to need to count towards the two cups.
*These bars keep best in the refrigerator in a sealed container for a week. They can be kept at room temperature in a sealed container but will be softer when you eat them. You may also freeze them for up to three months. I personally like the texture of them frozen!